To access a role for editing, follow these steps:
- Select Administration>Security>Roles from side navigation to open the Roles page.
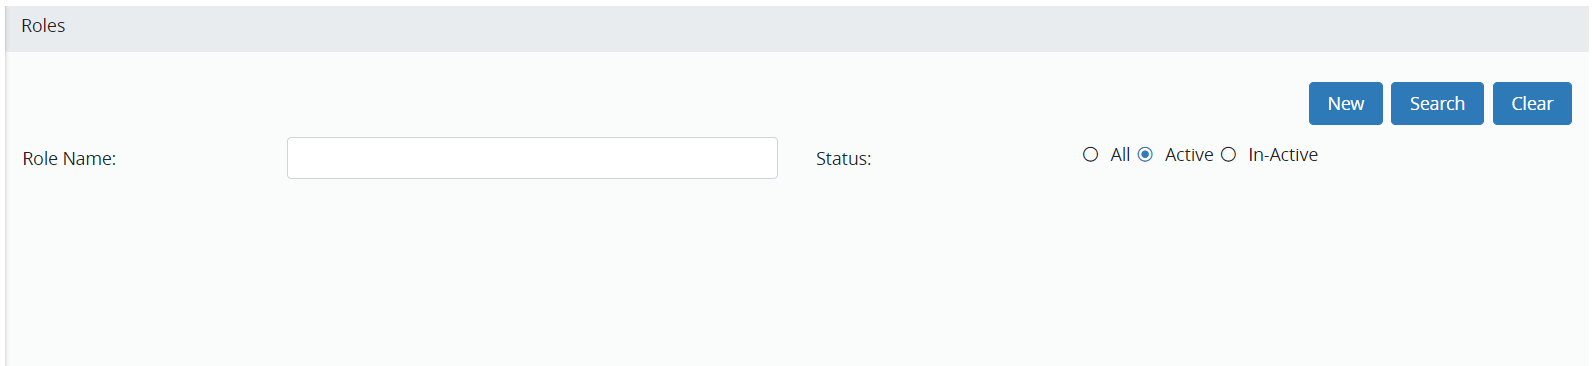
- The Status option defaults to “Active”. Leave this option selected.
- Optional. If you want to search for a specific role, complete the Role Name field.
- Click Search to view roles.
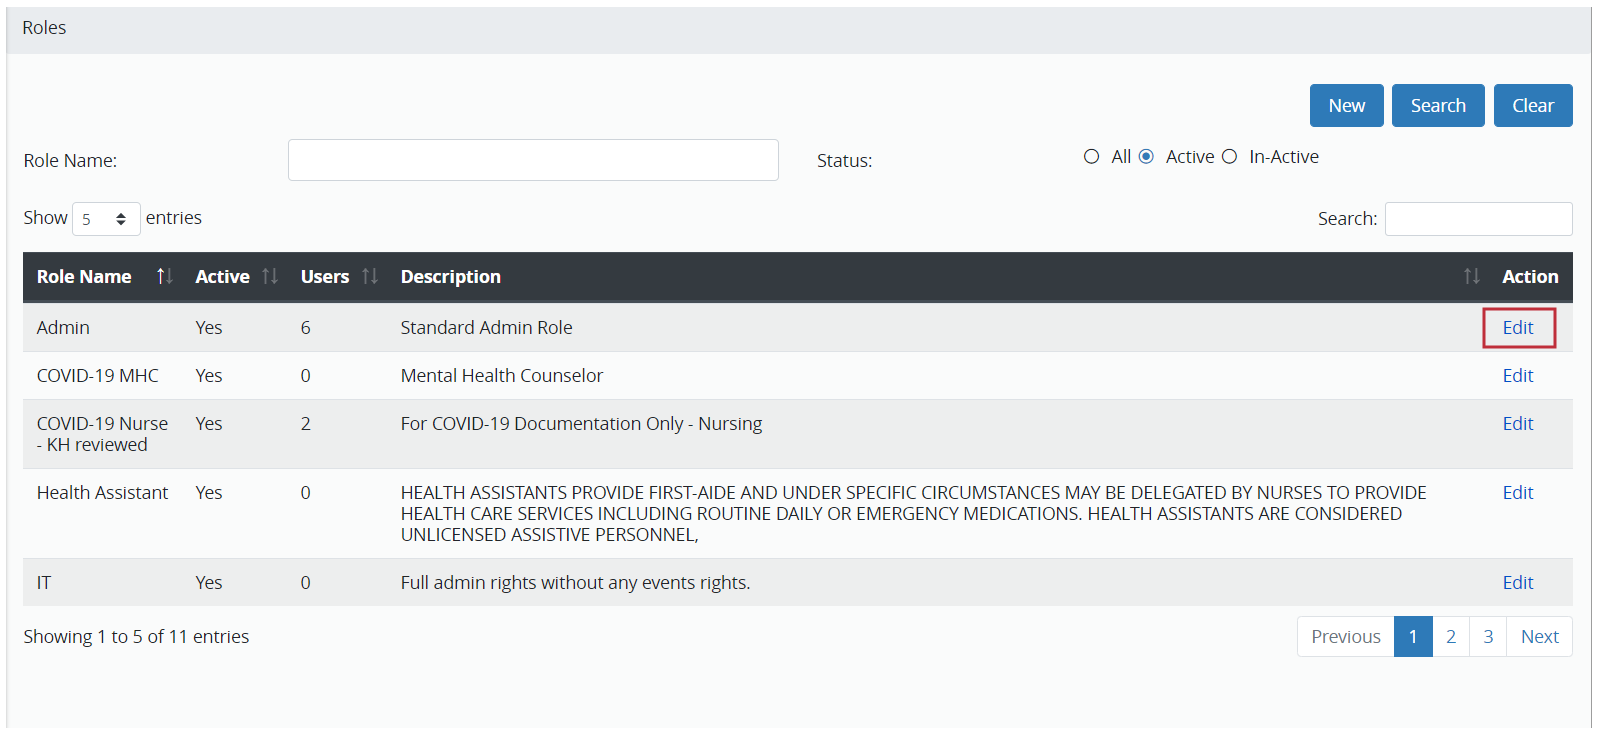
- In the Action column for a row, click Edit to view the Role page and navigation Menu.

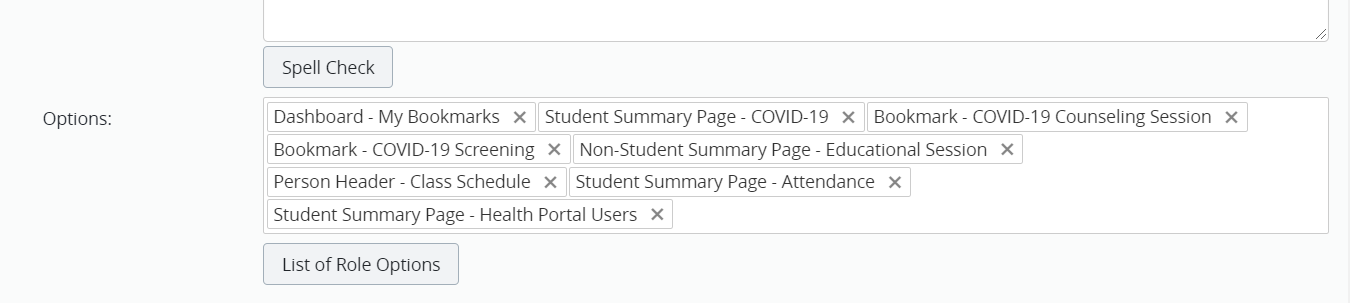
- Use the Options field to add the following COVID-19 materials to the Student Summary Profile that can be viewed by the role:
- “Dashboard – My Bookmarks”
- “Student Summary Page – COVID-19”
- “Non-Student Summary Page – Educational Session”
- “Person Header – Class Schedule”
- “Student Summary Page – Attendance”
- “Student Summary Page – Health Portal”
- “Bookmark – COVID-19 Counseling Session” (This selection is optional.)
- “Bookmark – COVID-19 Screening” (This selection is optional.)
The Options field with selections for COVID-19 materials is shown below.
- Click Save in the upper right corner to save your changes.
- Review the items in each section below to view whether it is appropriate for the selected role.
Note:
When you make a change to a page, be sure to click Save in the upper right corner to save your changes.